Table of Contents
Export
- Copy the code above by pressing “Copy to Clipboard”.
- Launch The Elder Scrolls: Legends
- Press the “New Deck” button
- The game should automatically detect your deck.
- Profit!
Masochistic Self-Mill
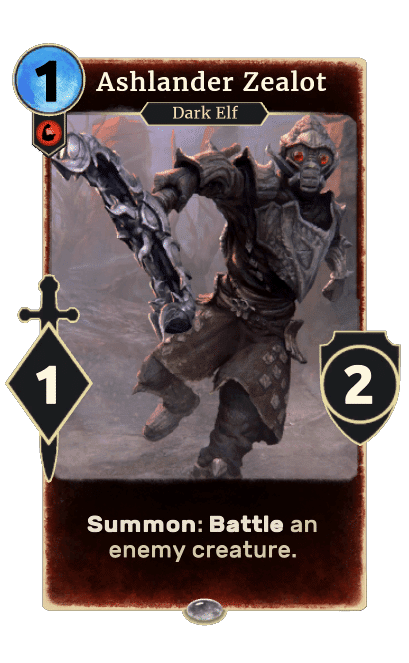
1 [card]Ashlander Zealot[/card]
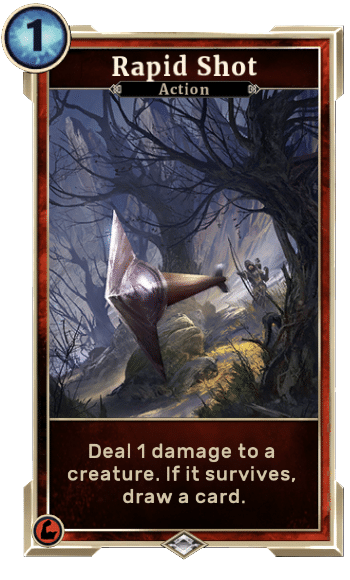
3 [card]Rapid Shot[/card]
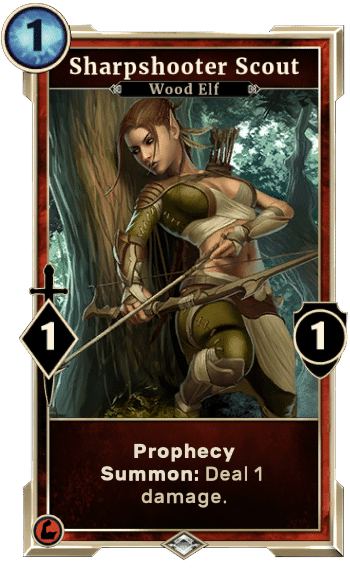
2 [card]Sharpshooter Scout[/card]
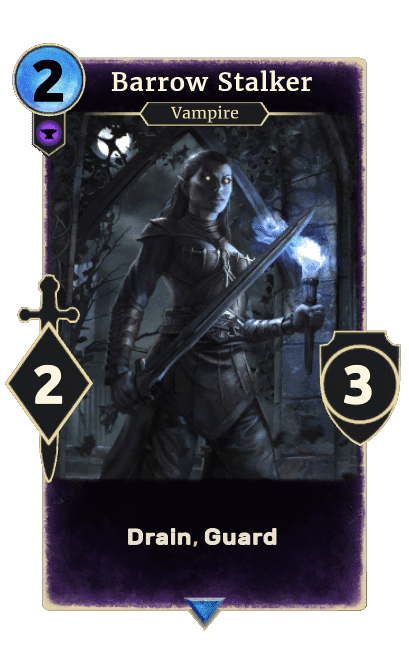
3 [card]Barrow Stalker[/card]
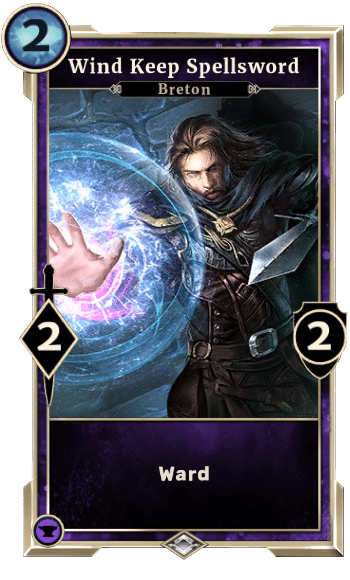
3 [card]Wind Keep Spellsword[/card]
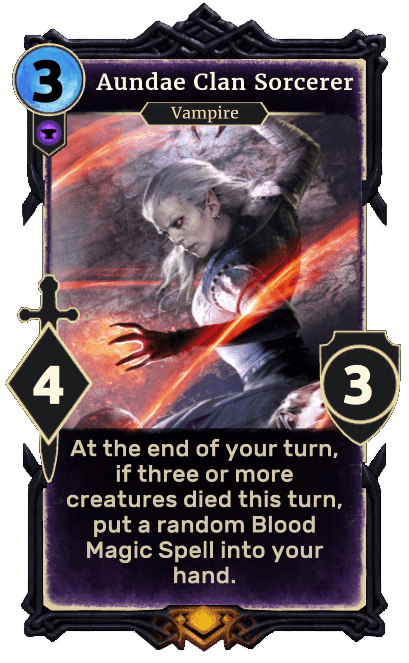
3 [card]Aundae Clan Sorcerer[/card]
3 [card]Dark Guardian[/card]
1 [card]Hlaalu Sharpshooter[/card]
1 [card]Mummify[/card]
2 [card]Necromancer’s Amulet[/card]
3 [card]Raiding Party[/card]
3 [card]Skaven Pyromancer[/card]
3 [card]Dushnikh Yal Archer[/card]
2 [card]Earthbone Spinner[/card]
1 [card]Fell the Mighty[/card]
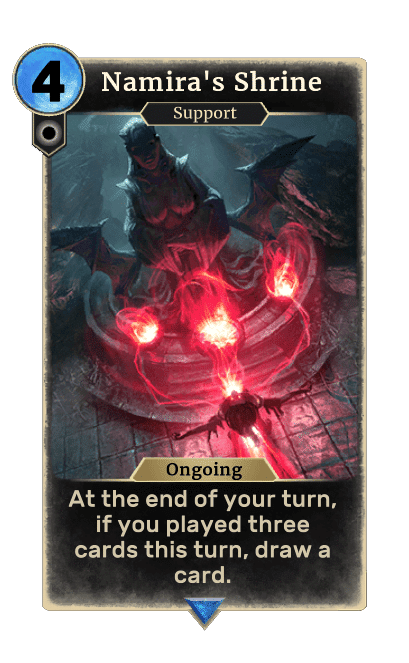
3 [card]Namira’s Shrine[/card]
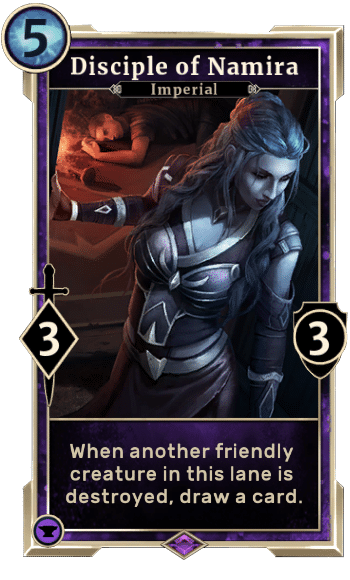
3 [card]Disciple of Namira[/card]
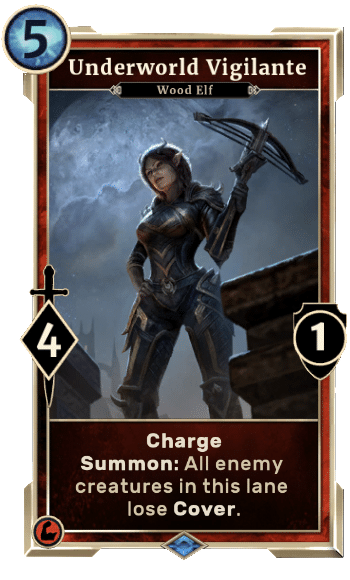
1 [card]Underworld Vigilante[/card]
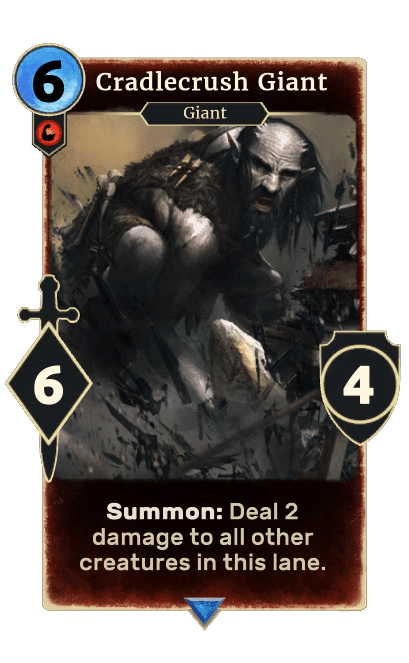
2 [card]Cradlecrush Giant[/card]
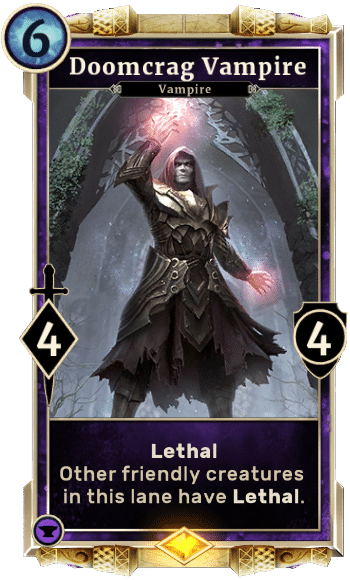
3 [card]Doomcrag Vampire[/card]
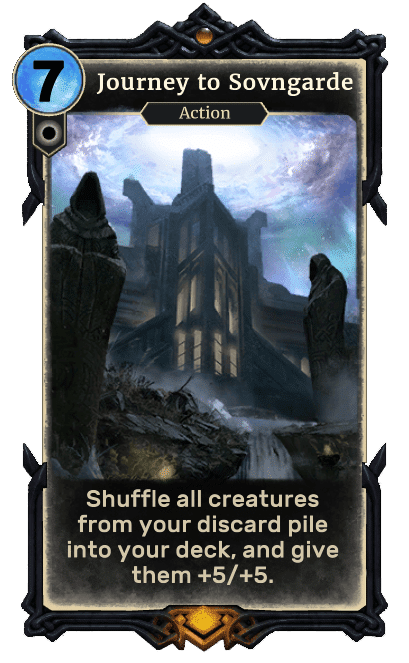
1 [card]Journey to Sovngarde[/card]


Warrior deck
Combo

| 3 | 6 | 6 | 16 | 9 | 4 | 5 | 1 |
| Guard | 9 |
| Charge | 7 |
| Ward | 3 |
| Prophecy | 3 |
| Lethal | 3 |
| Drain | 3 |
| Plot | 1 |
| Slay | 0 |
| Treasure Hunt | 0 |
| Wax | 0 |
| Wane | 0 |
| Regenerate | 0 |
| Betray | 0 |
| Breakthrough | 0 |
| Last Gasp | 0 |
| Invade | 0 |
| Assemble | 0 |
| Pilfer | 0 |
| Exalt | 0 |
| Rally | 0 |

View other Decks by Warriors7
Posted: 1 year ago
Updated: 1 year ago
Outdated (MantikoraNerf patch)
Crafting Cost: 15050

Missing Soul Gems: Add your collection to see the soul gems you are missing.
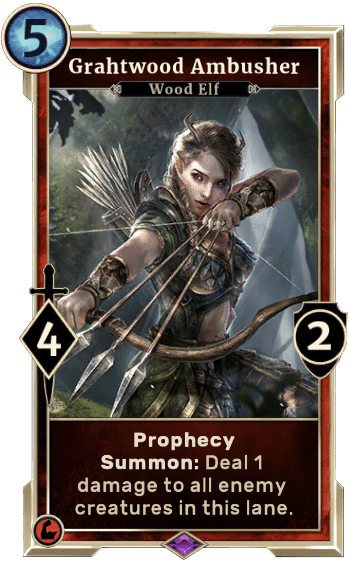
Changed a few cards to make it better against midrange – grahtwoods were cut because there’s not much need to clear journey + conscription anymore.
General Strategy:
Control deck using journey as its win condition, using Firebrands in conjunction with Namira and Doomcrag as its engine. With all the ping effects and guards, it should control aggro quite well. It can steamroll control if it gets 1 or 2 engines going, but may struggle against tall greedy decks when it does not draw Doomcrag or any engines. Versus other journey decks, I believe this deck is able to cycle the fastest, and having 6 Namira draw engines makes the card draw quite consistent. Against midrange it is very tricky to play, often needing to take risk by playing Shrine or Amulet or turns where you want to remove creatures.
Use firebrands carefully – they are vital as they are your card draw and removal. If you expend them too leniently, you may run out of removal/draw. Once you have a shrine going, the name of the game is to draw, draw, draw. Hold key resources such as Doomcrag and pings, but don’t be afraid to dump cards for 0 value or even killing your own creatures. With 2 shrines out, playing 3 cards out means drawing 3 cards. Other nuances I learned with Namira’s Shrine was to not have 3 in play if your hand is full, and if your hand is empty, don’t play it until you can combo it. If you have a full hand and don’t have Journey in hand, discard your bad cards and preserve your removal. However, once you have your key resources such as Doomcrag in hand, amulets and shrines on board and most importantly, Journey in hand, feel free to mill yourself!
Combos:
t3 Raiding Party -> t4 Namira Shrine double tokens
Doomcrag + Firebrand/Ping effects as hard removal
Namira + Firebrand and sacking own creatures for massive card draw
Once you have milled yourself to 0, Journey + Namira + 0 cost creatures/Firebrand for OTK potential
Card Choices/Replacements:
Vigilant Giant: It serves as a stalling tool and value card against midrange and control, but could be cut. You could also add another Giant if control is dominant. Might replace with another Viglante.
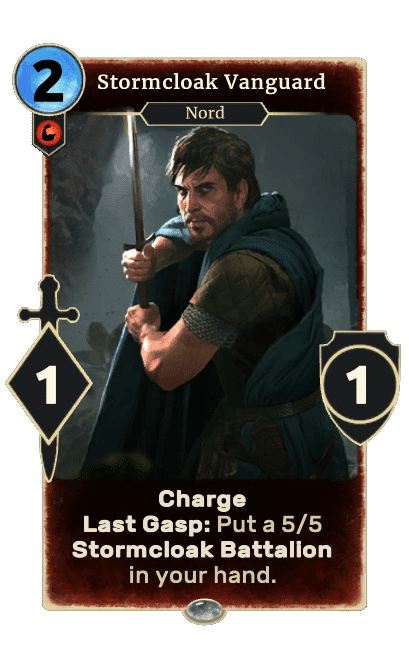
Stormcloak Vanguard: Useful at times, but can get clunky. Wind Keep can be a good replacement to fight for early board.
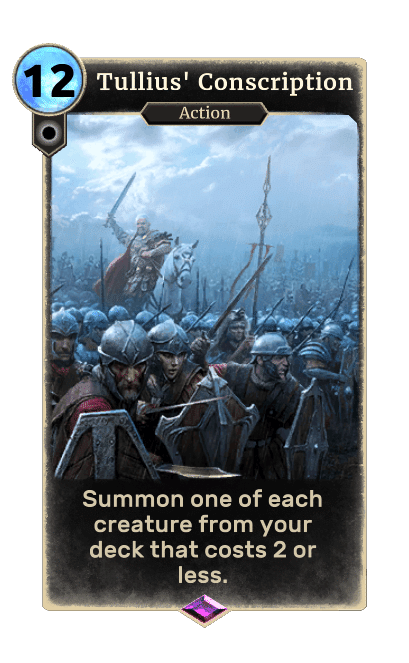
Tullius Conscription: Win more, but its fun and you can include it. It can help thin your deck to find journey, but often times you will struggle to clear your own board to set up a full conscription. A Namira serves as a Conscription once you journey after 0 cards anyways.
If you want to watch some experienced gameplay with this deck, you can hang out at my stream or watch vods: https://www.twitch.tv/warriors7

Share on:
49 Comments


But of course it isn’t that unbeatable. Personally I played against it like 5-6 times and lost only once when I was pretty unlucky to hit last prophecy Grahtwood Ambusher which prevented me from killing my opponent.
The best way to counter it is to rush it down. Keeping your tools for dealing with doomkrags, namiras (key cards of the deck). And most of the time you should push your opponent through shadow lane but keeping in mind that your opponent can clear it with doomkrag+ambusher, or doomkrag+piro if he needs so. You should avoid trading as much as possible except into cards which I mentioned before. Though of course there will be situations where you should play around candycrush for example and sacrifice one of your creature preventing full clearing. Definitely it can be countered by other ways: memory Wraith, combo decks which managed to find their combo first or support removals plus cast into time namiras at the same time but it’s more unlikely.
No doubt that this version of Warriors7′ is close to the best one but I risked to make a couple of changes. I removed 1 vigilant giant and 1 skaven pyromancer and added 2 copies of Fell the Mighty. If the first one quite replaceable I’m pretty sure that pyro is considered as a crucial one. But I think that running 2 copies is OK. You can barely imagine a situation when you desperately need a pyro but not having an efficient removal for a big creature in a certain situation can cost you a game. Maybe it’s wrong but for me it works and there were a couple of situations when Fells won me the games.
I also experimented with adding more Underworld Vigilantes because it allows you to control shadow lane more efficiently what is very important for this deck but replacing Grahtwood Ambusrhers seems wrong because clearing full lane with doomcrag is too powerfull and not having such a combo makes your deck weaker on the distance.
Summing up I would like to thank Warriors7 for creating this deck which definitely already has influenced meta. The deck has it’s own style, a clear gameplan and a win condition. TESL hasn’t seen such powerful decks for a long time.

“If you have a full hand and don’t have Journey in hand, discard your bad cards and preserve your removal.”
Is there a way to choose which card to discard? To me it just seems like you don’t draw the 11th card. Am I missing something?
The amount of rage quits you get once they realize whats going on is amazing.